

The Rail Forest in Sea of Stars’ Throes of the Watchmaker DLC brings a number of new puzzles to the sport. Some are fairly apparent and simple, whereas others are method too complicated.
Listed below are all of the options to the Rail Forest puzzles in Sea of Stars’ Throes of the Watchmaker.
Full Rail Forest Puzzle Options in Sea of Stars – Full Walkthrough
Rail Forest Puzzle #1

The Rail Forest path is fairly easy, other than the puzzles. You’ll undergo the hoops just like the way you went by means of the Oubliettes and the Clockwork Plains.
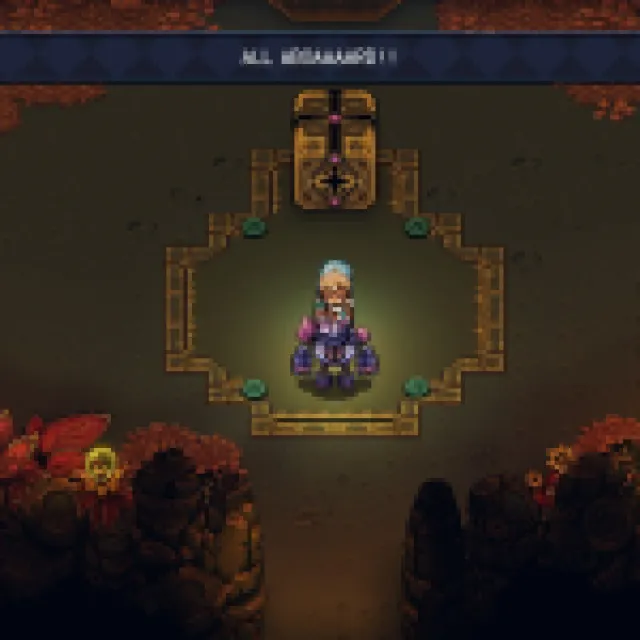
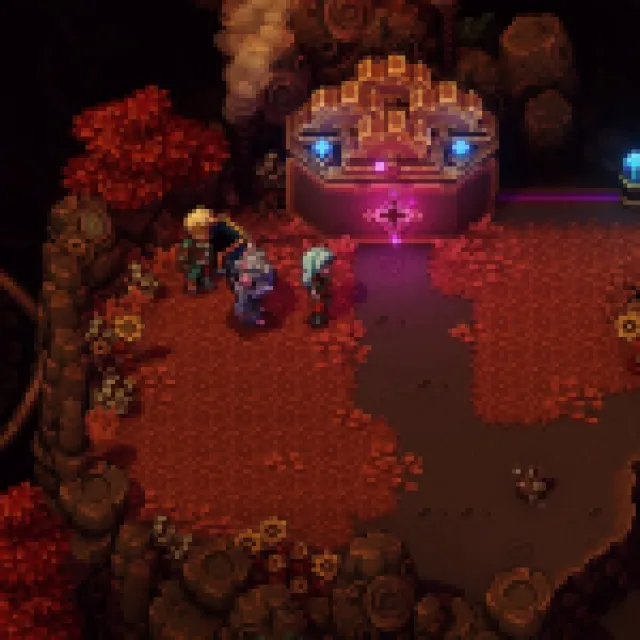
You’ll ultimately end up caught subsequent to a cliff the place there’s a room on the aspect. If you happen to go in, you’ll see a field with a gap within the center, just like the keyholes you’ve encountered beforehand.
Work together with it to miniaturize your crew and remedy the puzzle inside.
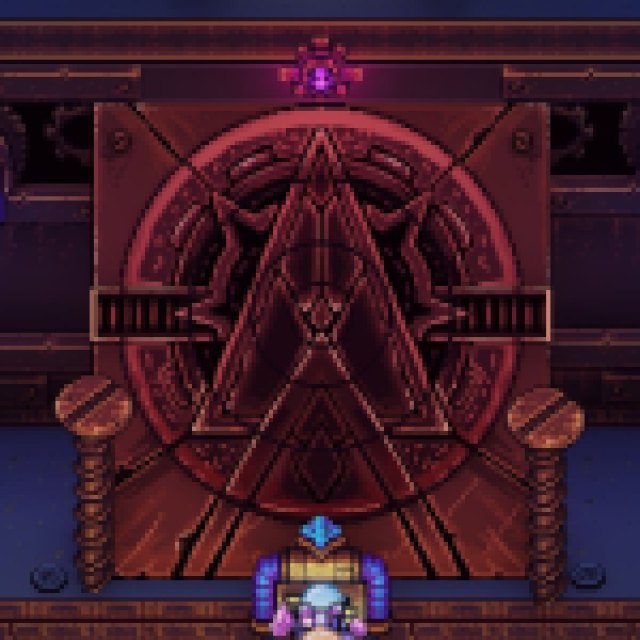

Inside, you’ll see an enormous image with 5 round layers. Flip every round layer to kind the picture above. It ought to appear like a triangle door-like image or one thing that mirrors the clock on the bottom within the City of Horloge.


When you end the puzzle, go up the steps from both aspect of the room and seize the Time Rune III on high. Go exterior and undergo the Rail Forest once more.
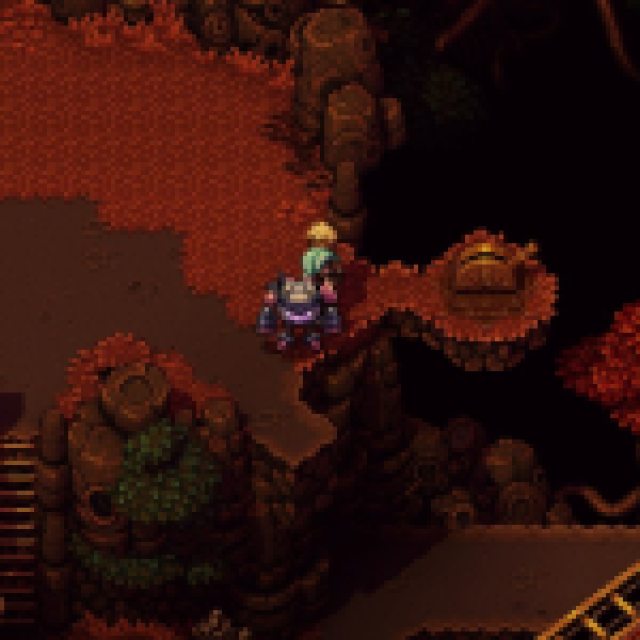
Rail Forest Puzzle #2

Subsequent, you’ll encounter rail tracks with two purple squares subsequent to a diamond icon. That is similar to the puzzle again within the Oubliettes. You’ll have to position one thing on these squares to complete the puzzle.
On the highest ground, you’ll see two pathways on the left and proper. You may see some deformities on the bottom and the railings beneath. There are additionally two giant platforms with railings on high on either side.
On the proper aspect, you possibly can push each of the platforms to the highest and to the center. Do each of them on the identical time, and when you attain the tip, the 2 platforms will place themselves completely in order that the final one could be dropped to the middle.


For the left aspect, there are two platforms as properly, however it’s a little completely different. If you happen to have a look at the picture above, you’ll see a tiny distinction the place a platform won’t match when pushed on the highest aspect.
If you happen to see the purple rectangle on high, that is the place you need the platform to land as you’re pushing it from the left aspect. To do that, you wish to push each bins to the highest however subsequent to one another (vertically). Push the field beneath to the opposite aspect, and it ought to hit the nook of the terrain, stopping it completely. Push it down the cliff and place the second platform on the sq..
This could join the railings, and it’s best to have the ability to go by means of it and proceed to the following space.
Rail Forest Puzzle #3

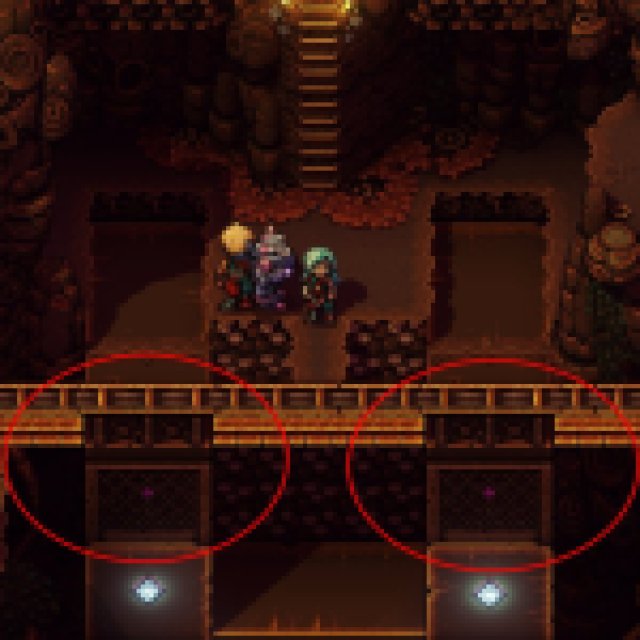
When you see the realm with a bunch of damaged railings within the heart, you’ll want to repair it like the image above. There are two switches on the proper aspect of the realm. Every change corresponds to a particular railing seen on the heart.

If you happen to undergo the opposite aspect, you’ll additionally see a lever to maneuver the railings up. Clear the enemies close to the lever first earlier than anything.
Consult with the primary picture on this part and use the switches to make sure no railing is obstructing the straight pathway. Go down the ladder and climb up the railings after getting linked the trail. Run by means of the railing; this needs to be the simplest of all of the puzzles within the Rail Forest.
Rail Forest Puzzle #4

For the fourth and ultimate puzzle, you’ll ultimately see one other contraption you possibly can enter. Go inside and also you’ll see a fancy puzzle revolving round switches, bins, and transferring platforms.


Take note of the solar (gold) and moon (teal) icons. When switched, the solar icon on high of the change will work together with all of the objects or platforms with the solar subsequent to it. The identical goes for the moon change.
As for the third change, switching it can alternate between the platform and the bins as seen within the picture on two photographs above. You purpose to push the three bins to the cogs and away from the platforms.
First, press the solar change so the trail will get cleared for the primary field. Go to the aspect and use the little air duct to raise your self as much as the highest ground. Run to the field and push it to the left.
Second, return down and use the change to show to the platform aspect. Press the solar change so it closes the platform, after which return up the platform. This could take you to the center stage and push the field by means of.
Third, return down and go to the platform change. Press the moon change to take away all of the platforms so you may get to the very first stage. Use the opposite switches to take away any blocked paths.
Go to the air duct and land on the primary stage. Push it and it ought to end the puzzle. The one method down from this aspect is to go to the proper aspect of the platform and leap all the way down to the water.
After ending the puzzle, you’ll unlock the trail going up the Rail Forest and see the principle tracks. You’ll get chased by a prepare and enter a cutscene. This begins the boss combat, and also you’ll need to beat the prepare to outlive.
If you happen to aren’t ready but, you possibly can return through the use of the purple “mine cart” to traverse again to the beginning of the Rail Forest. You should use the identical mine cart to return up. The prepare boss is hard. It often imprisons considered one of your get together members, and for those who don’t break them out by attacking the cell, you’ll lose them instantly in the course of the combat.
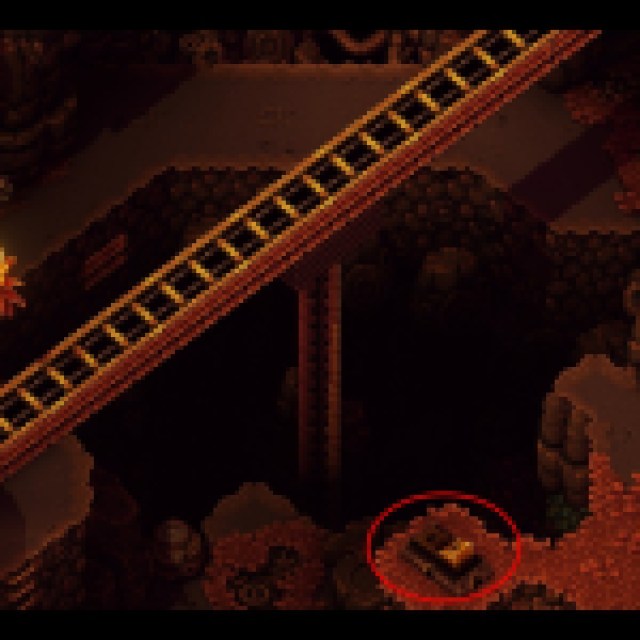
Be sure to are totally rested and have some gadgets prepared for therapeutic and reviving. Undergo your gear; you may need discovered higher gear within the Rail Forest since there are some chests right here which can be laborious to overlook.
